Continuous Integration
Overview
Teaching: 15 min
Exercises: 10 minQuestions
How can my tests run automatically?
Objectives
Be able to set up a continuous integration pipeline to check a test suite on pushing to a code hosting platform.
So far, we have been running tests on a single machine by invoking pytest from
the command line. Every time we make changes to the code we manually re-run the
tests in order to check that our changes haven’t broken anything.
In a software project there might be many developers working on different parts of the code remotely, then pushing their changes (commits) to a centralised repository, such as one on GitHub. How can we make sure that tests are run whenever a new commit is received and that we are notified whenever a change breaks the code?
When running tests on your local machine you can be confident that the code is working in your environment, i.e. your operating system, version of Python, etc. How can we be sure that the code will work on a range of environments?
Continuous integration (or CI) is the practice that attempts to solve
these problems. The idea is that every time a new commit is pushed a CI server
sets up a clean environment, does a git clone of your code from the central
repository, then attempts to build it and run any tests. This means that you can
guarantee that for every commit you make, the software will build and run on a
clean machine without manual intervention, and that the test suite
passes—or at least, if it doesn’t, you’ll get warned about it, so you know
to fix it.
There are many fantastic CI services, most of which offer at least some level of service free of charge. In this course we will use GitHub Actions, since it integrates well with GitHub.
Configuring the CI build
Central to GitHub Actions is the concept of a workflow. Each workflow defines
a set of steps that GitHub will take, and tells GitHub when to take them.
Workflows are stored in the .github/workflows/ directory; the . at the start
of the filename means that the directory is hidden at the shell by default.
Workflows are defined in YAML files (short for “YAML Ain’t Markup Language”). A typical workflow might looks something like this:
name: Run tests

on:
  push:
    branches: [ main ]
  pull_request:
    branches: [ main ]

jobs:
  build:

    runs-on: ubuntu-latest
    strategy:
      matrix:
        python-version: [3.7, 3.8, 3.9]

    steps:
    - uses: actions/checkout@v3
    - name: Set up Python ${{ matrix.python-version }}
      uses: actions/setup-python@v4
      with:
        python-version: ${{ matrix.python-version }}
    - name: Install dependencies
      run: |
        python -m pip install --upgrade pip
        python -m pip install pytest
    - name: Test with pytest
      run: |
        pytest
This is a decent chunk of content, so let’s break it down. At the highest level,
there are three items: name, on, and jobs. name defines a name for the
action, so if you have many actions you can identify which one has done what.
on identifies when this action should run. In this case we run the action
whenever there is a push to the main branch, or a pull request to it. Finally,
we define one job, which is to build (and run) the software).
Default git branch naming
Traditionally the default branch in a git repository has been called “master”. Recently there have been an effort to change this (see, for example, this article) to a term that is not associated with slavery. GitHub has opted to now call its default branch
main, but your version ofgitprobably still defaults tomaster. The GitHub Actions template shown above expects a branch calledmain. You can solve this in several ways:
- Rename your
masterbranch after you create the repository and make the first commit. This is the method recommended by GitHub.$ git branch -M main- Before creating the repository, change the default branch name for all new repositories using
git config$ git config --global init.defaultBranch main- Keep the branch name as it is (or choose another name that you prefer) and change the branch name used by GitHub Actions. Then, change the
branches: [ main ]line in theonsection to the name of your branch.
The build job then defines what it needs: to run on the most recent version of
Ubuntu, and to test three Python versions, each of which will run entirely
separately. Then it lists the steps that it will perform: first it checks out
the repository, then sets up the version of Python selected for this run, then
install any dependencies necessary for the software to run, and finally run
pytest.
Actions beyond tests
If this seems unnecessarily complicated to run some tests whenever we push to a repository, you’re not wrong. GitHub Actions is designed to be useful in a wide variety of cases beyond running a test suite—for example, it can also build packaged applications for release whenever a release is tagged, or even kick off a full analysis pipeline when new data are added to a repository.
You can also test on systems other than Linux, so if you don’t have a Windows or macOS machine available to test on, you can still verify that your software works on those platforms.
We’re only scratching the surface today of what GitHub actions can do. But even a very small subset of its features is enough to give us significant benefits!
Your first CI build
We’ll now walk through the process of running your first CI build. Before starting you’ll need to open a terminal by locating the Home Jupyter tab, clicking on the New dropdown button near the top right, then selecting Terminal from the list. For convenience, it might be preferable to split your screen so the terminal tab is next to this one. That way you can follow through the tutorial as you execute various commands.
First move into the grid directory. This has already been set up with a
.github/workflows/pytest.yaml and a GitHub README.md file.
$ cd grid
Edit README.md so that both occurrences of USERNAME are replaced by your
GitHub username.
Also edit grid.py to re-introduce the bug that you fixed earlier. (Replace
h-1 with w on line 156.)
Run pytest to check that the tests fail.
$ pytest
Now initialise a new git repository.
$ git init
Add all of the files in the directory and stage them for the commit.
$ git add .
Commit the files that you’ve staged in your local repository.
$ git commit -m "Initial commit."
Finally, rename the branch to main, to match the branch name we are checking
for pushes to in our workflow.
$ git branch -M main
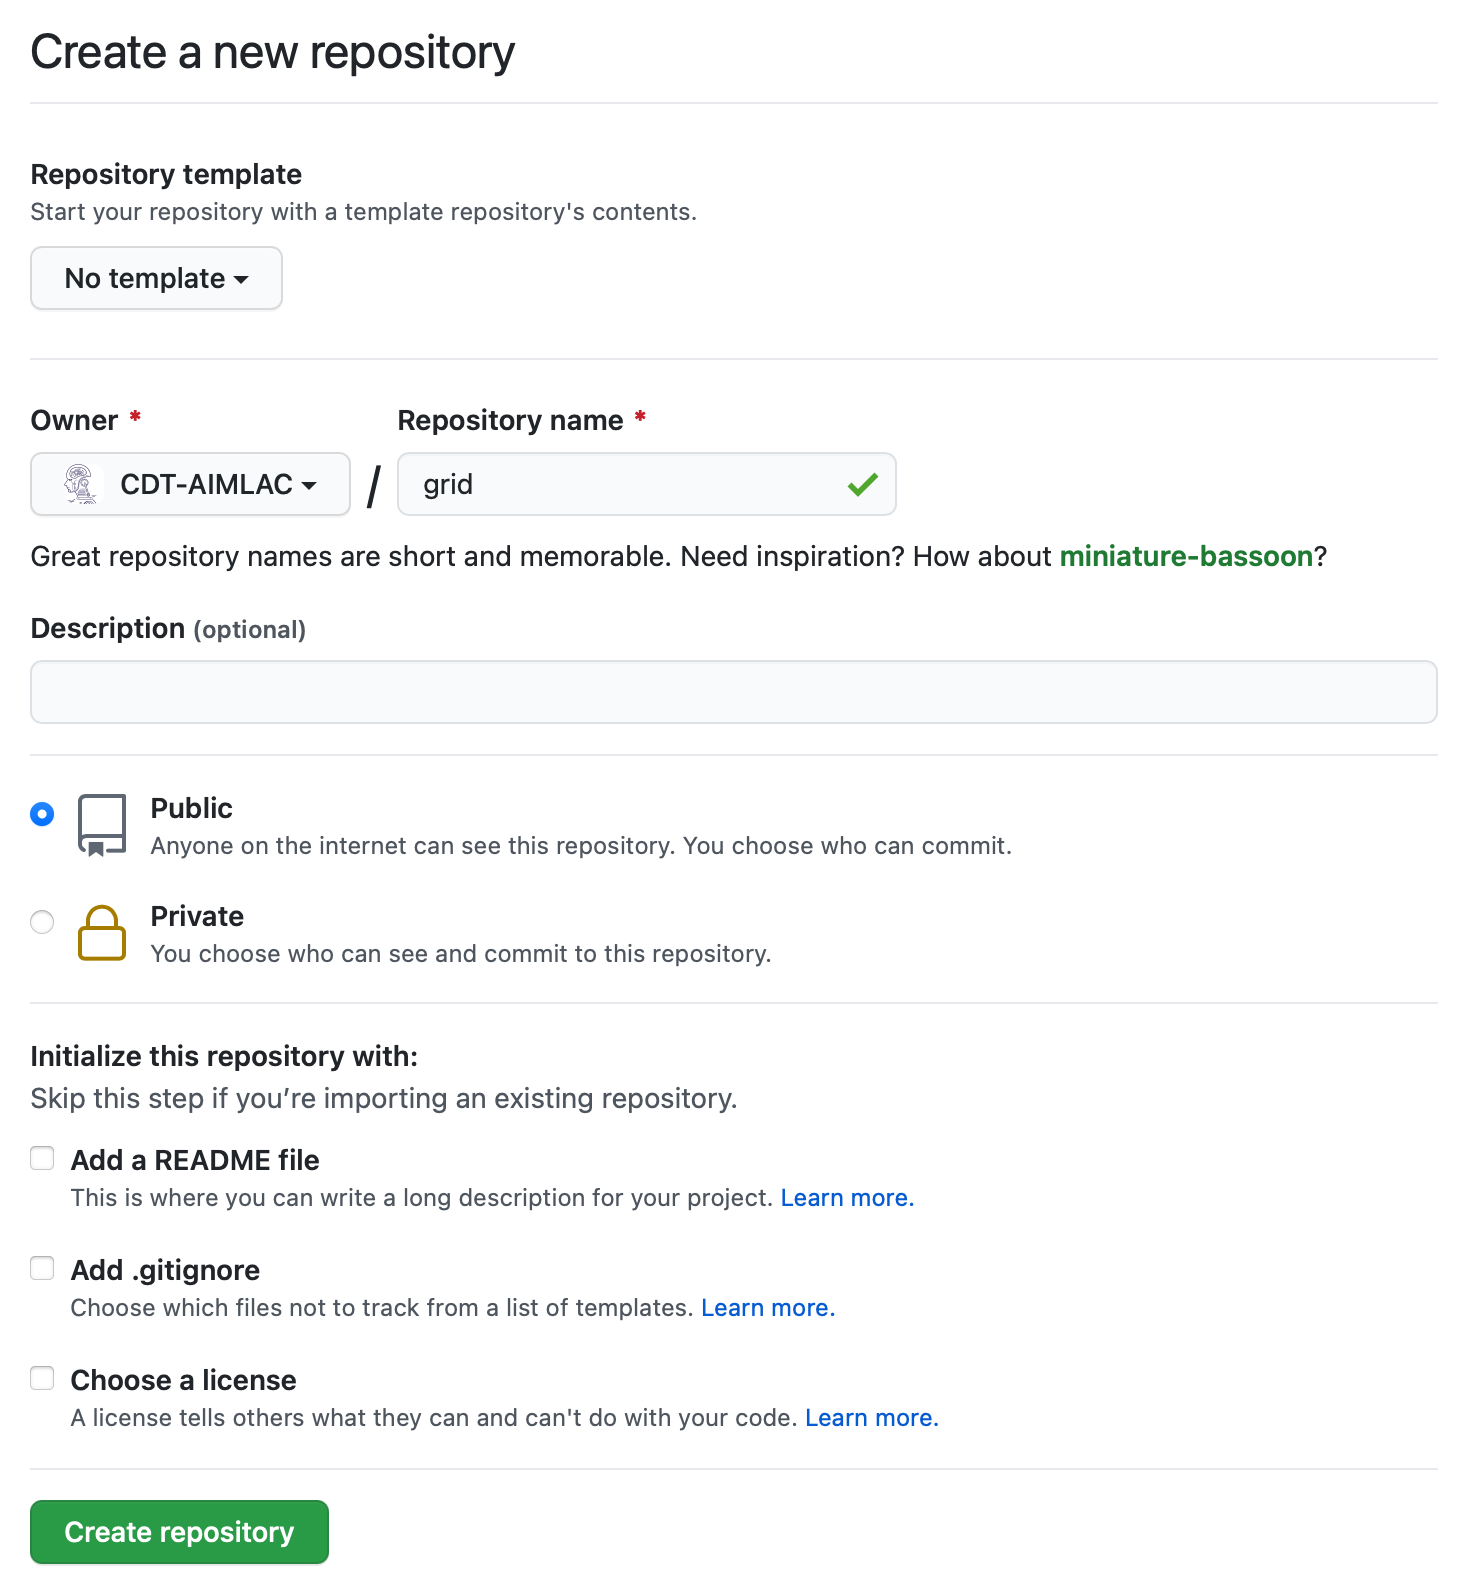
Go to your GitHub profile page and create a new repository called
grid. (It’s important that you use this exact name!) To do so click on the
Repositories tab, then the New button. Set the Repository template to
“No template”, and leave the check boxes for “Add a README file”, “Add
.gitignore”, and “Choose a license” unchecked.
Back on the command line we can now add a URL for the new remote repository that
you just created. Once again, replace USERNAME with your actual GitHub
username.
$ git remote add origin https://github.com/USERNAME/grid.git
You can now push your commit to the remote repository.
$ git push origin main
Since we included a .github/workflows/pytest.yaml workflow to run on commit to
the default branch, GitHub will automatically detect this and initiate a build.
If you visit the GitHub page for the repository you will see a build status
image on the main page.

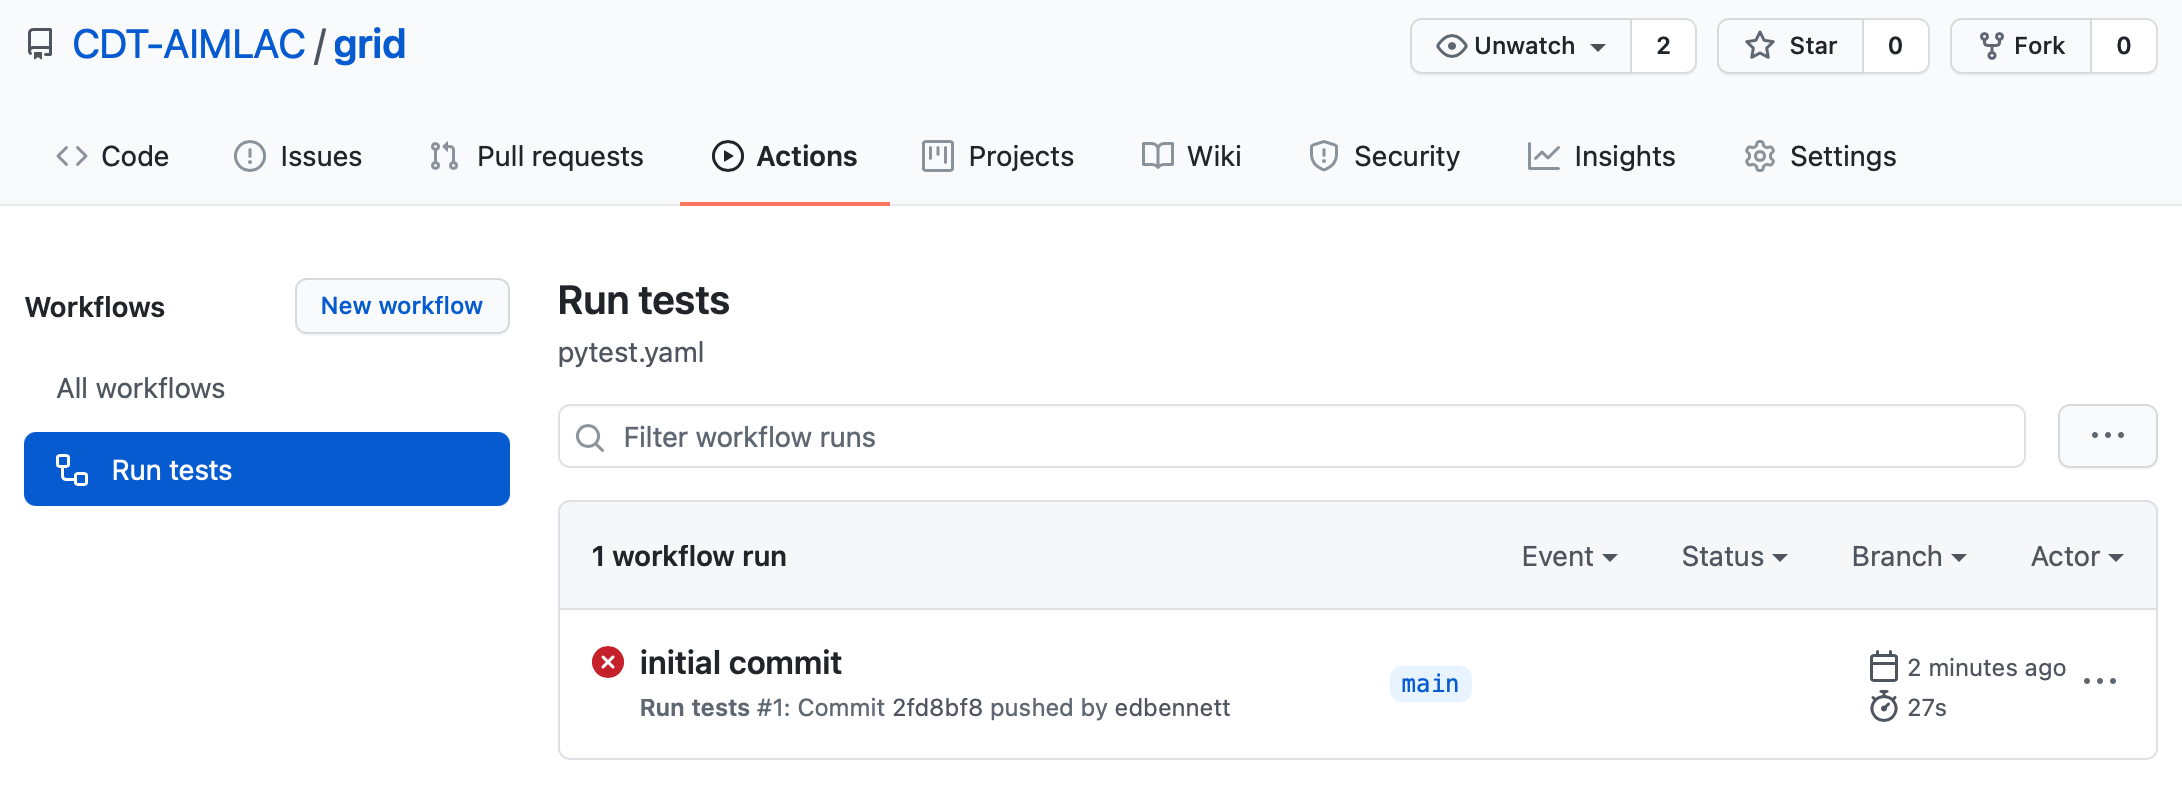
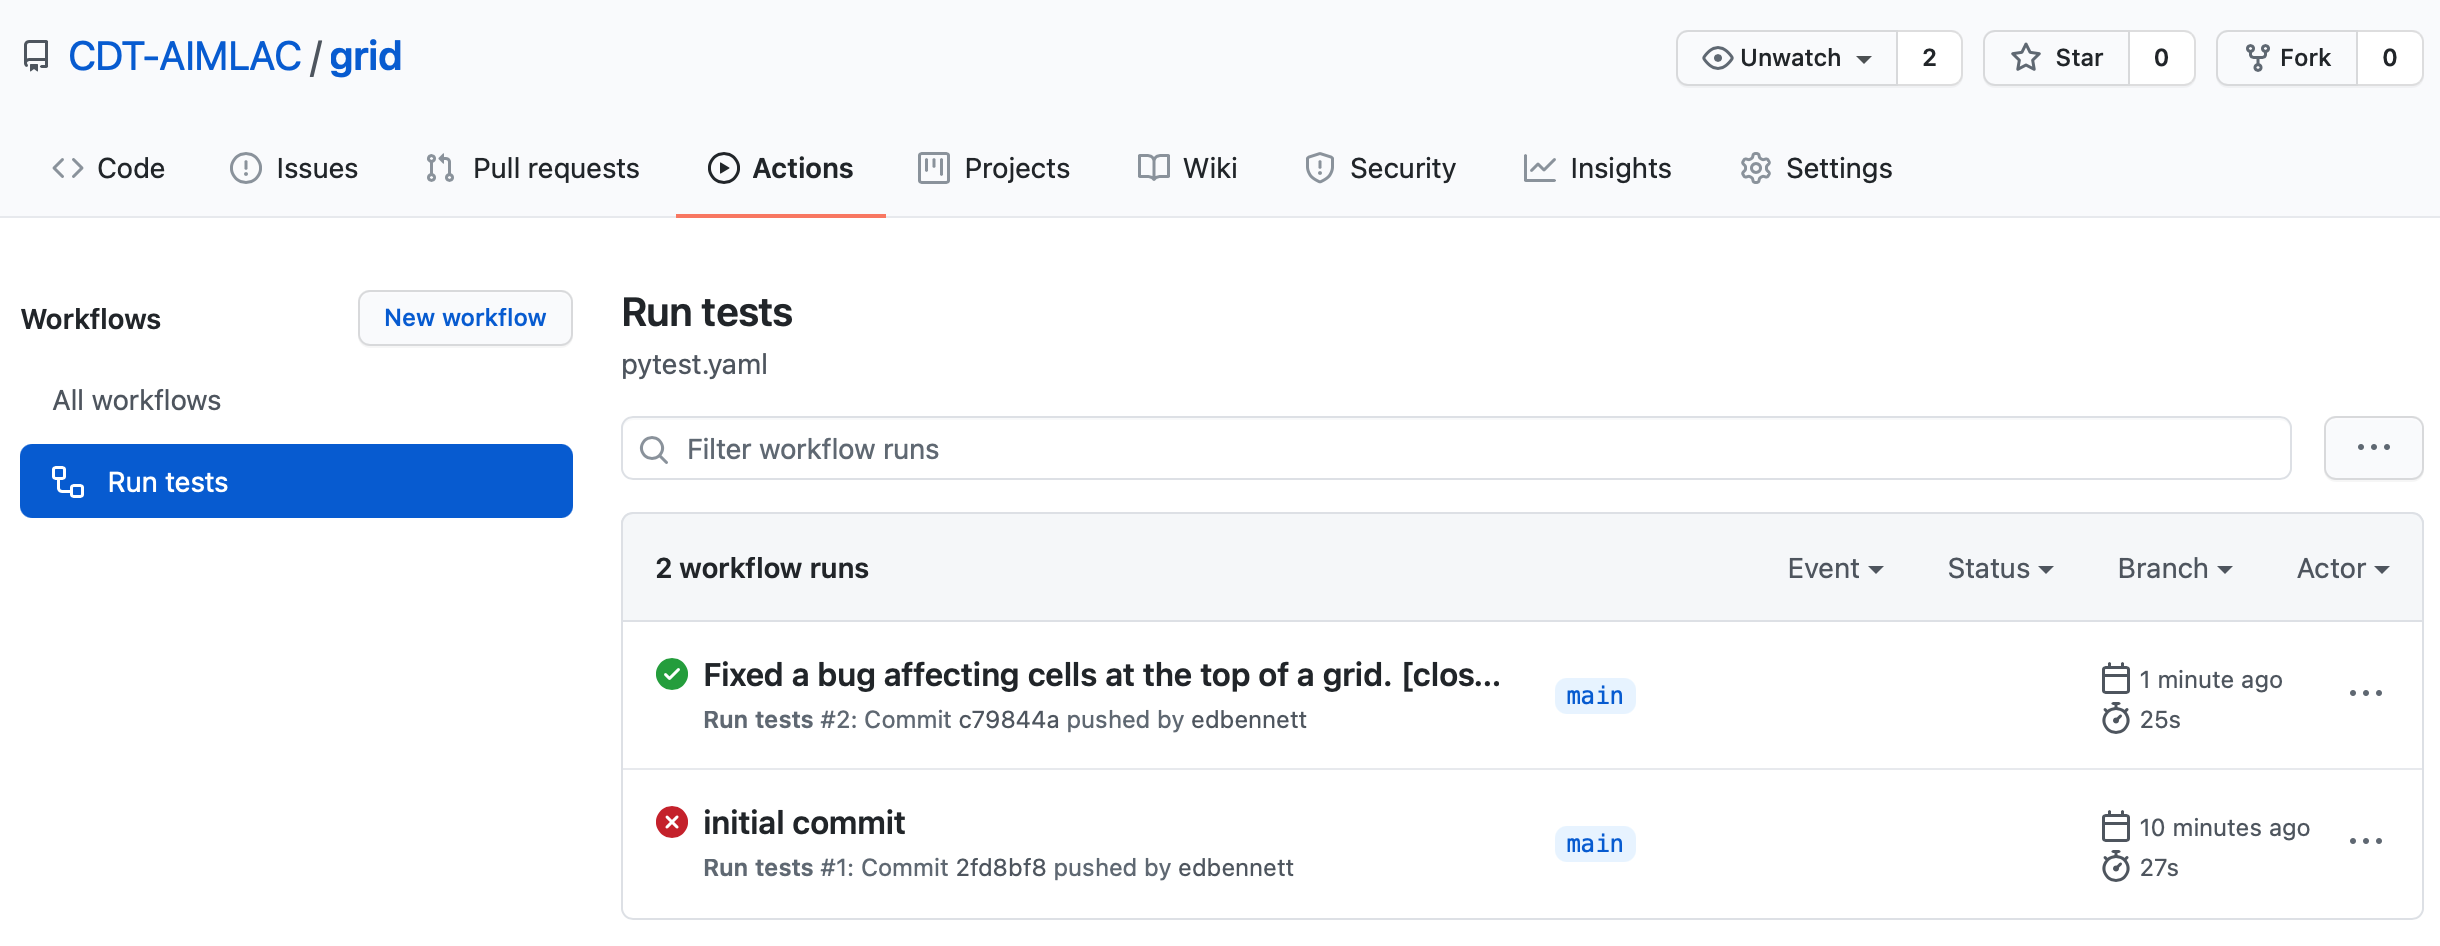
Clicking on this will take you to the GitHub Actions page for the test workflow, where you can see the progress of the current build, as well as the details of any previous builds. You should see the status reported as failed. In addition, you might also receive an email notifying you of the error.
Don’t do this
It’s normally bad practice to push code that you know is broken. In this case we’re using it as an example to show how to go about fixing it in the correct way. In general, run your test suite before committing, and definitely before pushing, to avoid publishing the repository in a state where someone else can’t clone and start using it.
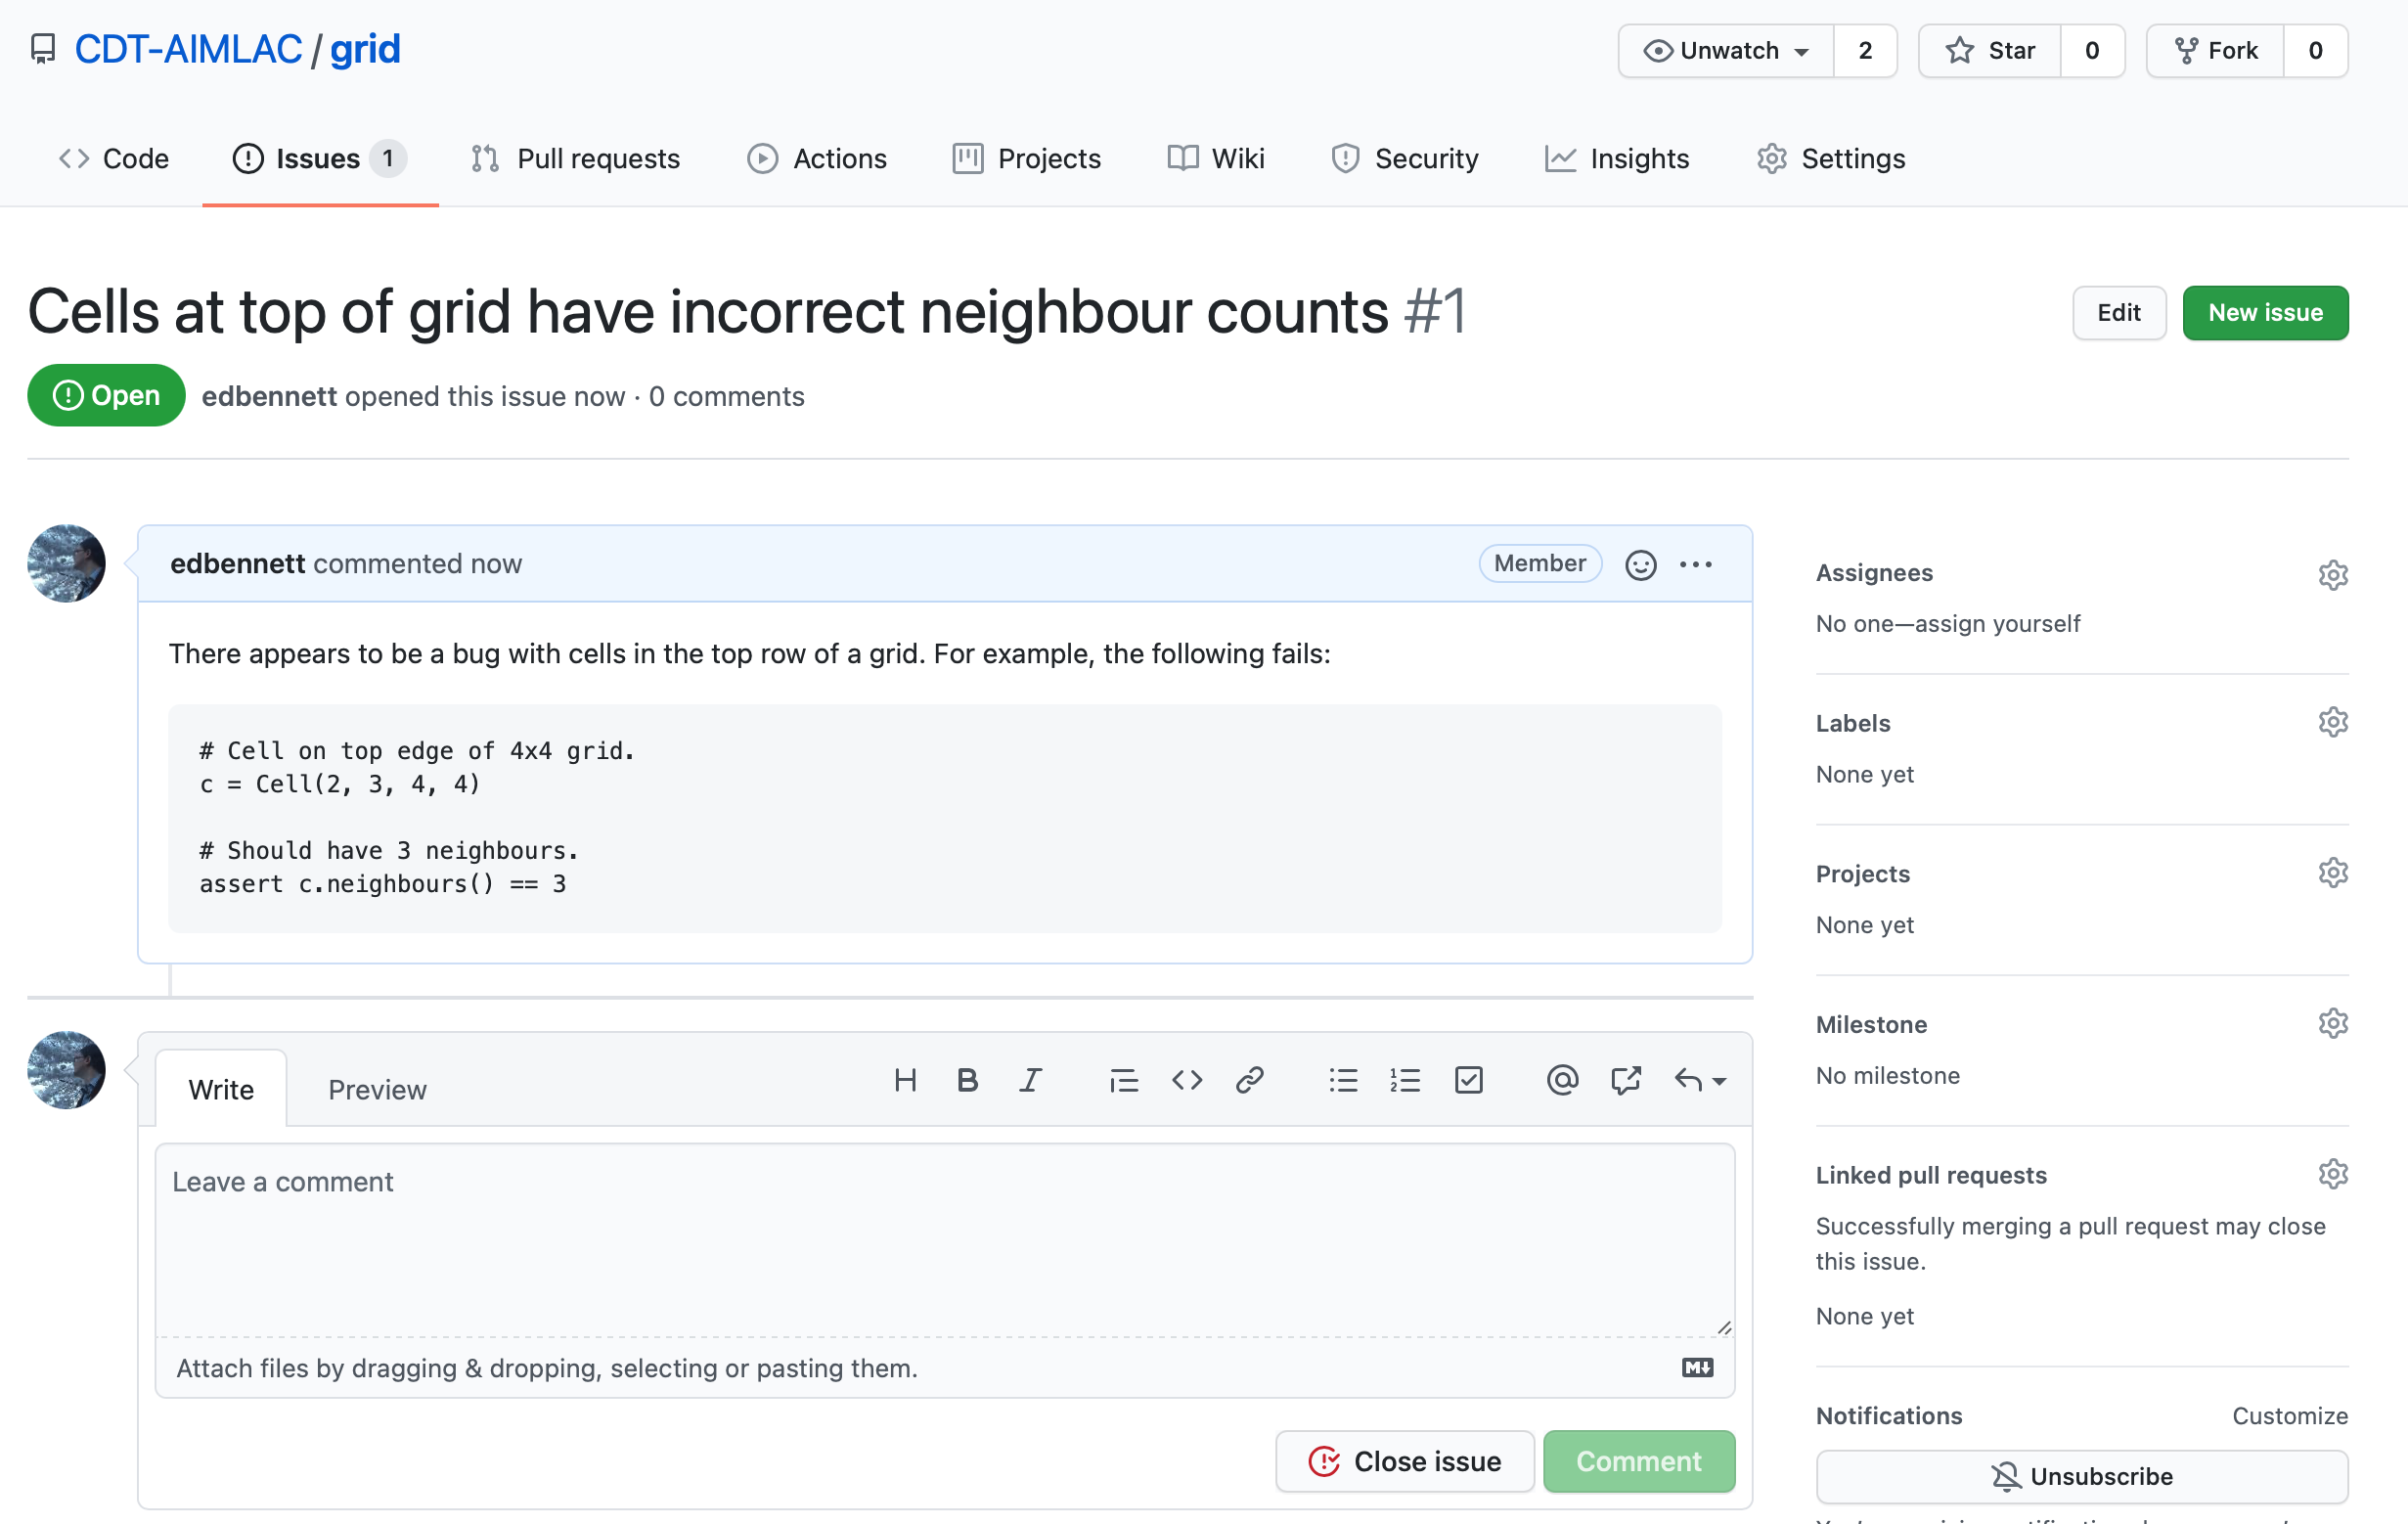
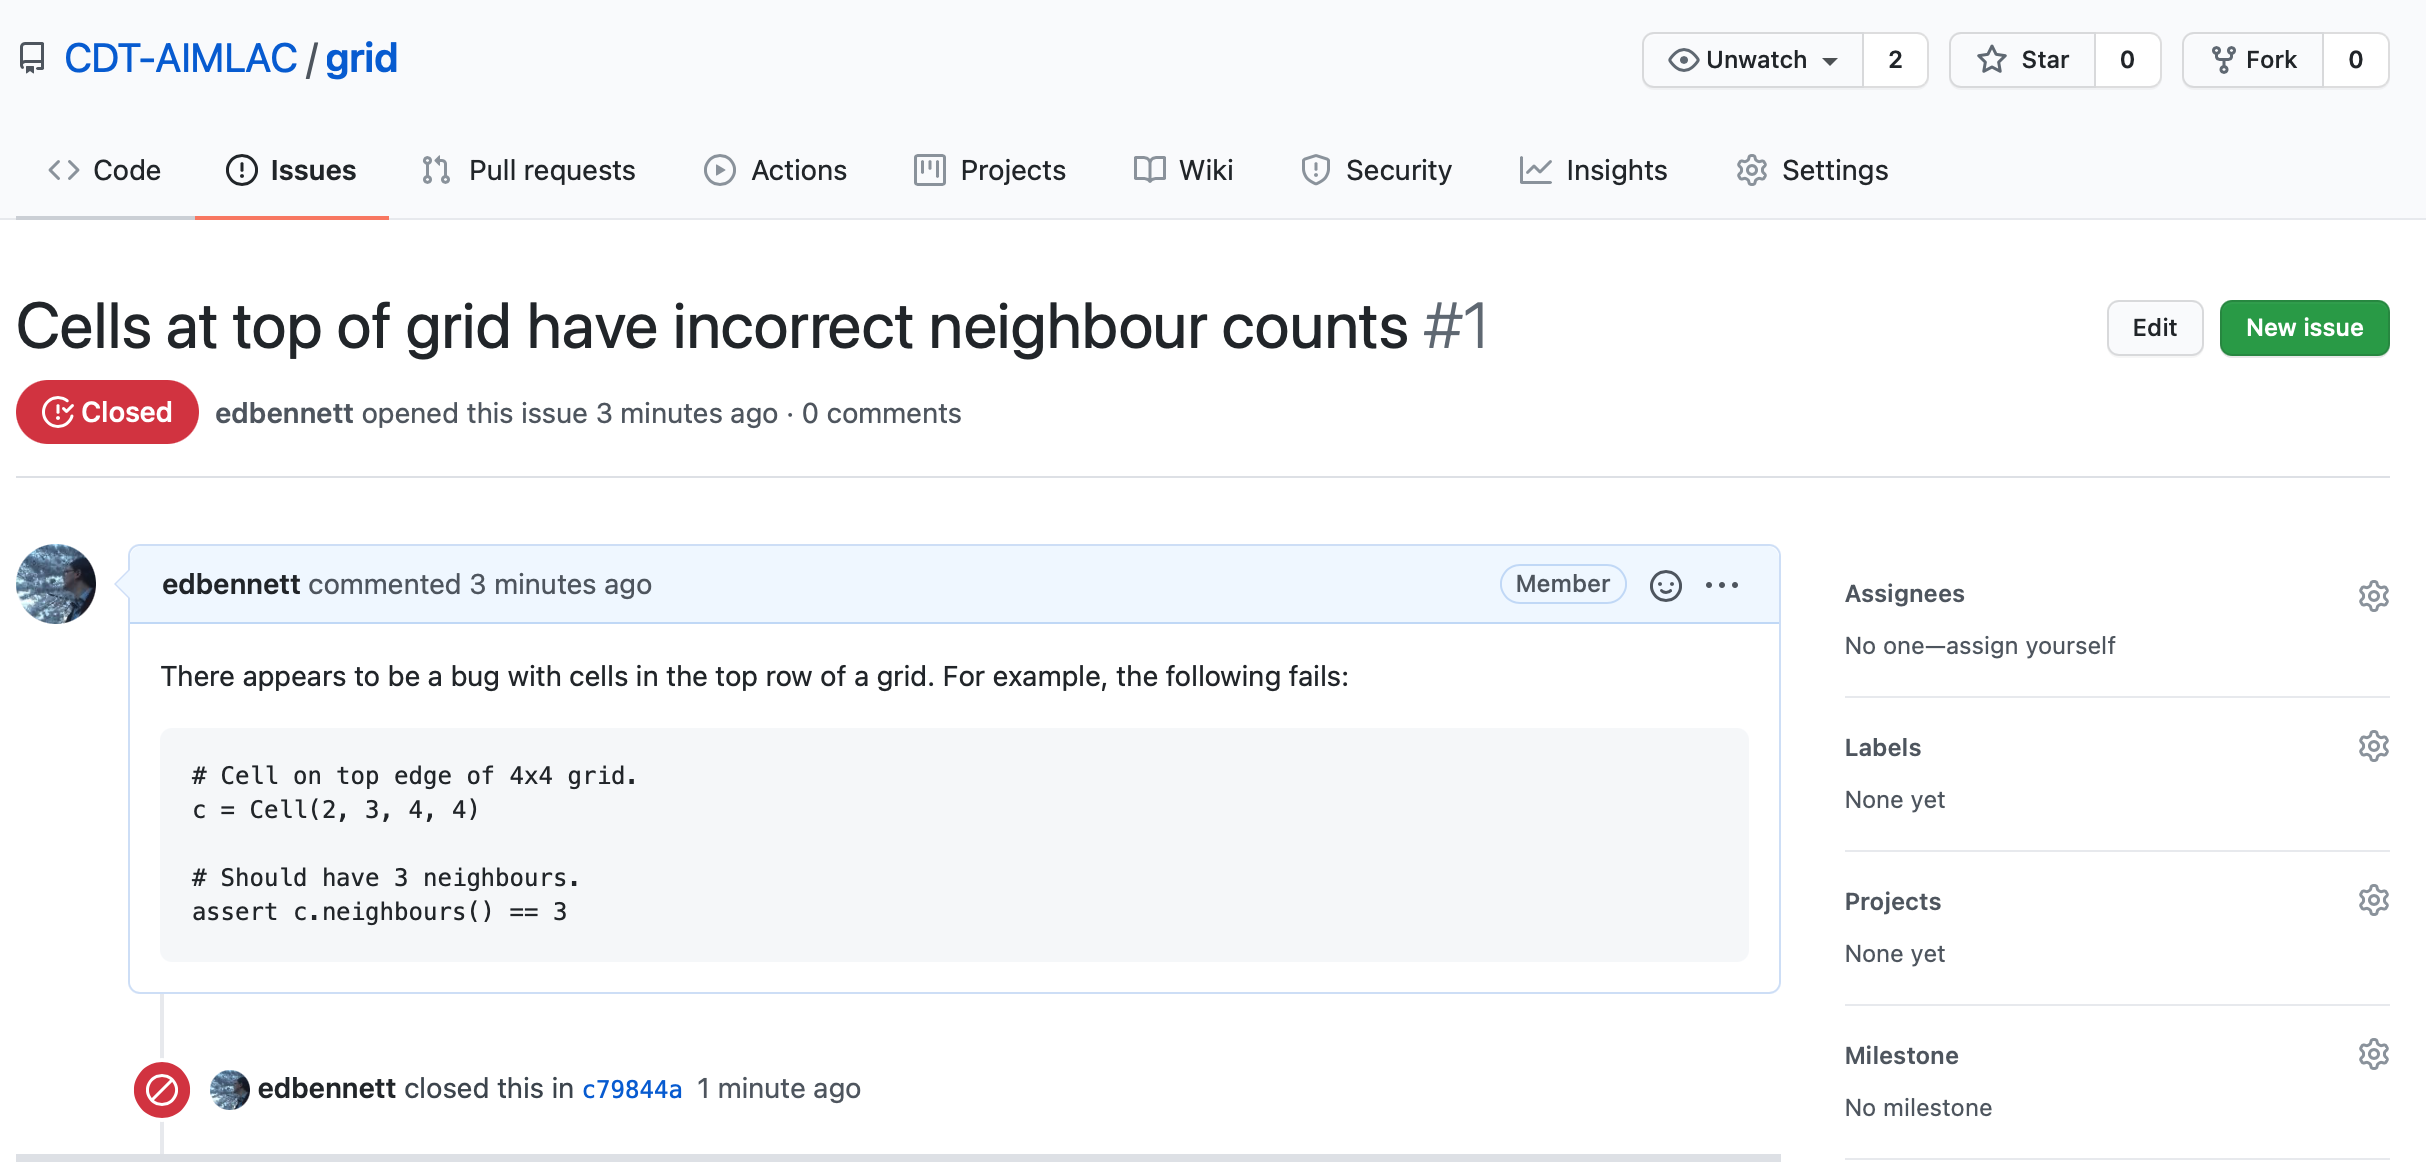
Creating an issue
Because we’ve noticed that the tests are failing, we can open an issue on GitHub to alert people to this. Click on the Issues tab followed by the New issue button. Give your issue whatever title you like, then hit submit. It’s good practice to give a minimal example that illustrates the problem. This helps the owner of the repository to reproduce the problem. You could also provide a new unit test if none of the current ones trigger the bug. In this case, we already have a good test that catches the error.
Pushing a fix
Back in your local repository fix the bug that you introduced earlier and verify
that the tests now pass. Having done this you can stage the grid.py file, then
commit the change. For simplicity we’ll do this in a single step.
$ git commit grid.py -m "Fixed a bug affecting cells at the top of a grid. [closes #1]"
Now push the commit to GitHub.
$ git push
The commit will now appear on GitHub, and GitHub Actions will run another build using the updated version of the code. Once the build is complete you should hopefully see a green status badge on the repository homepage to indicate that it passed.
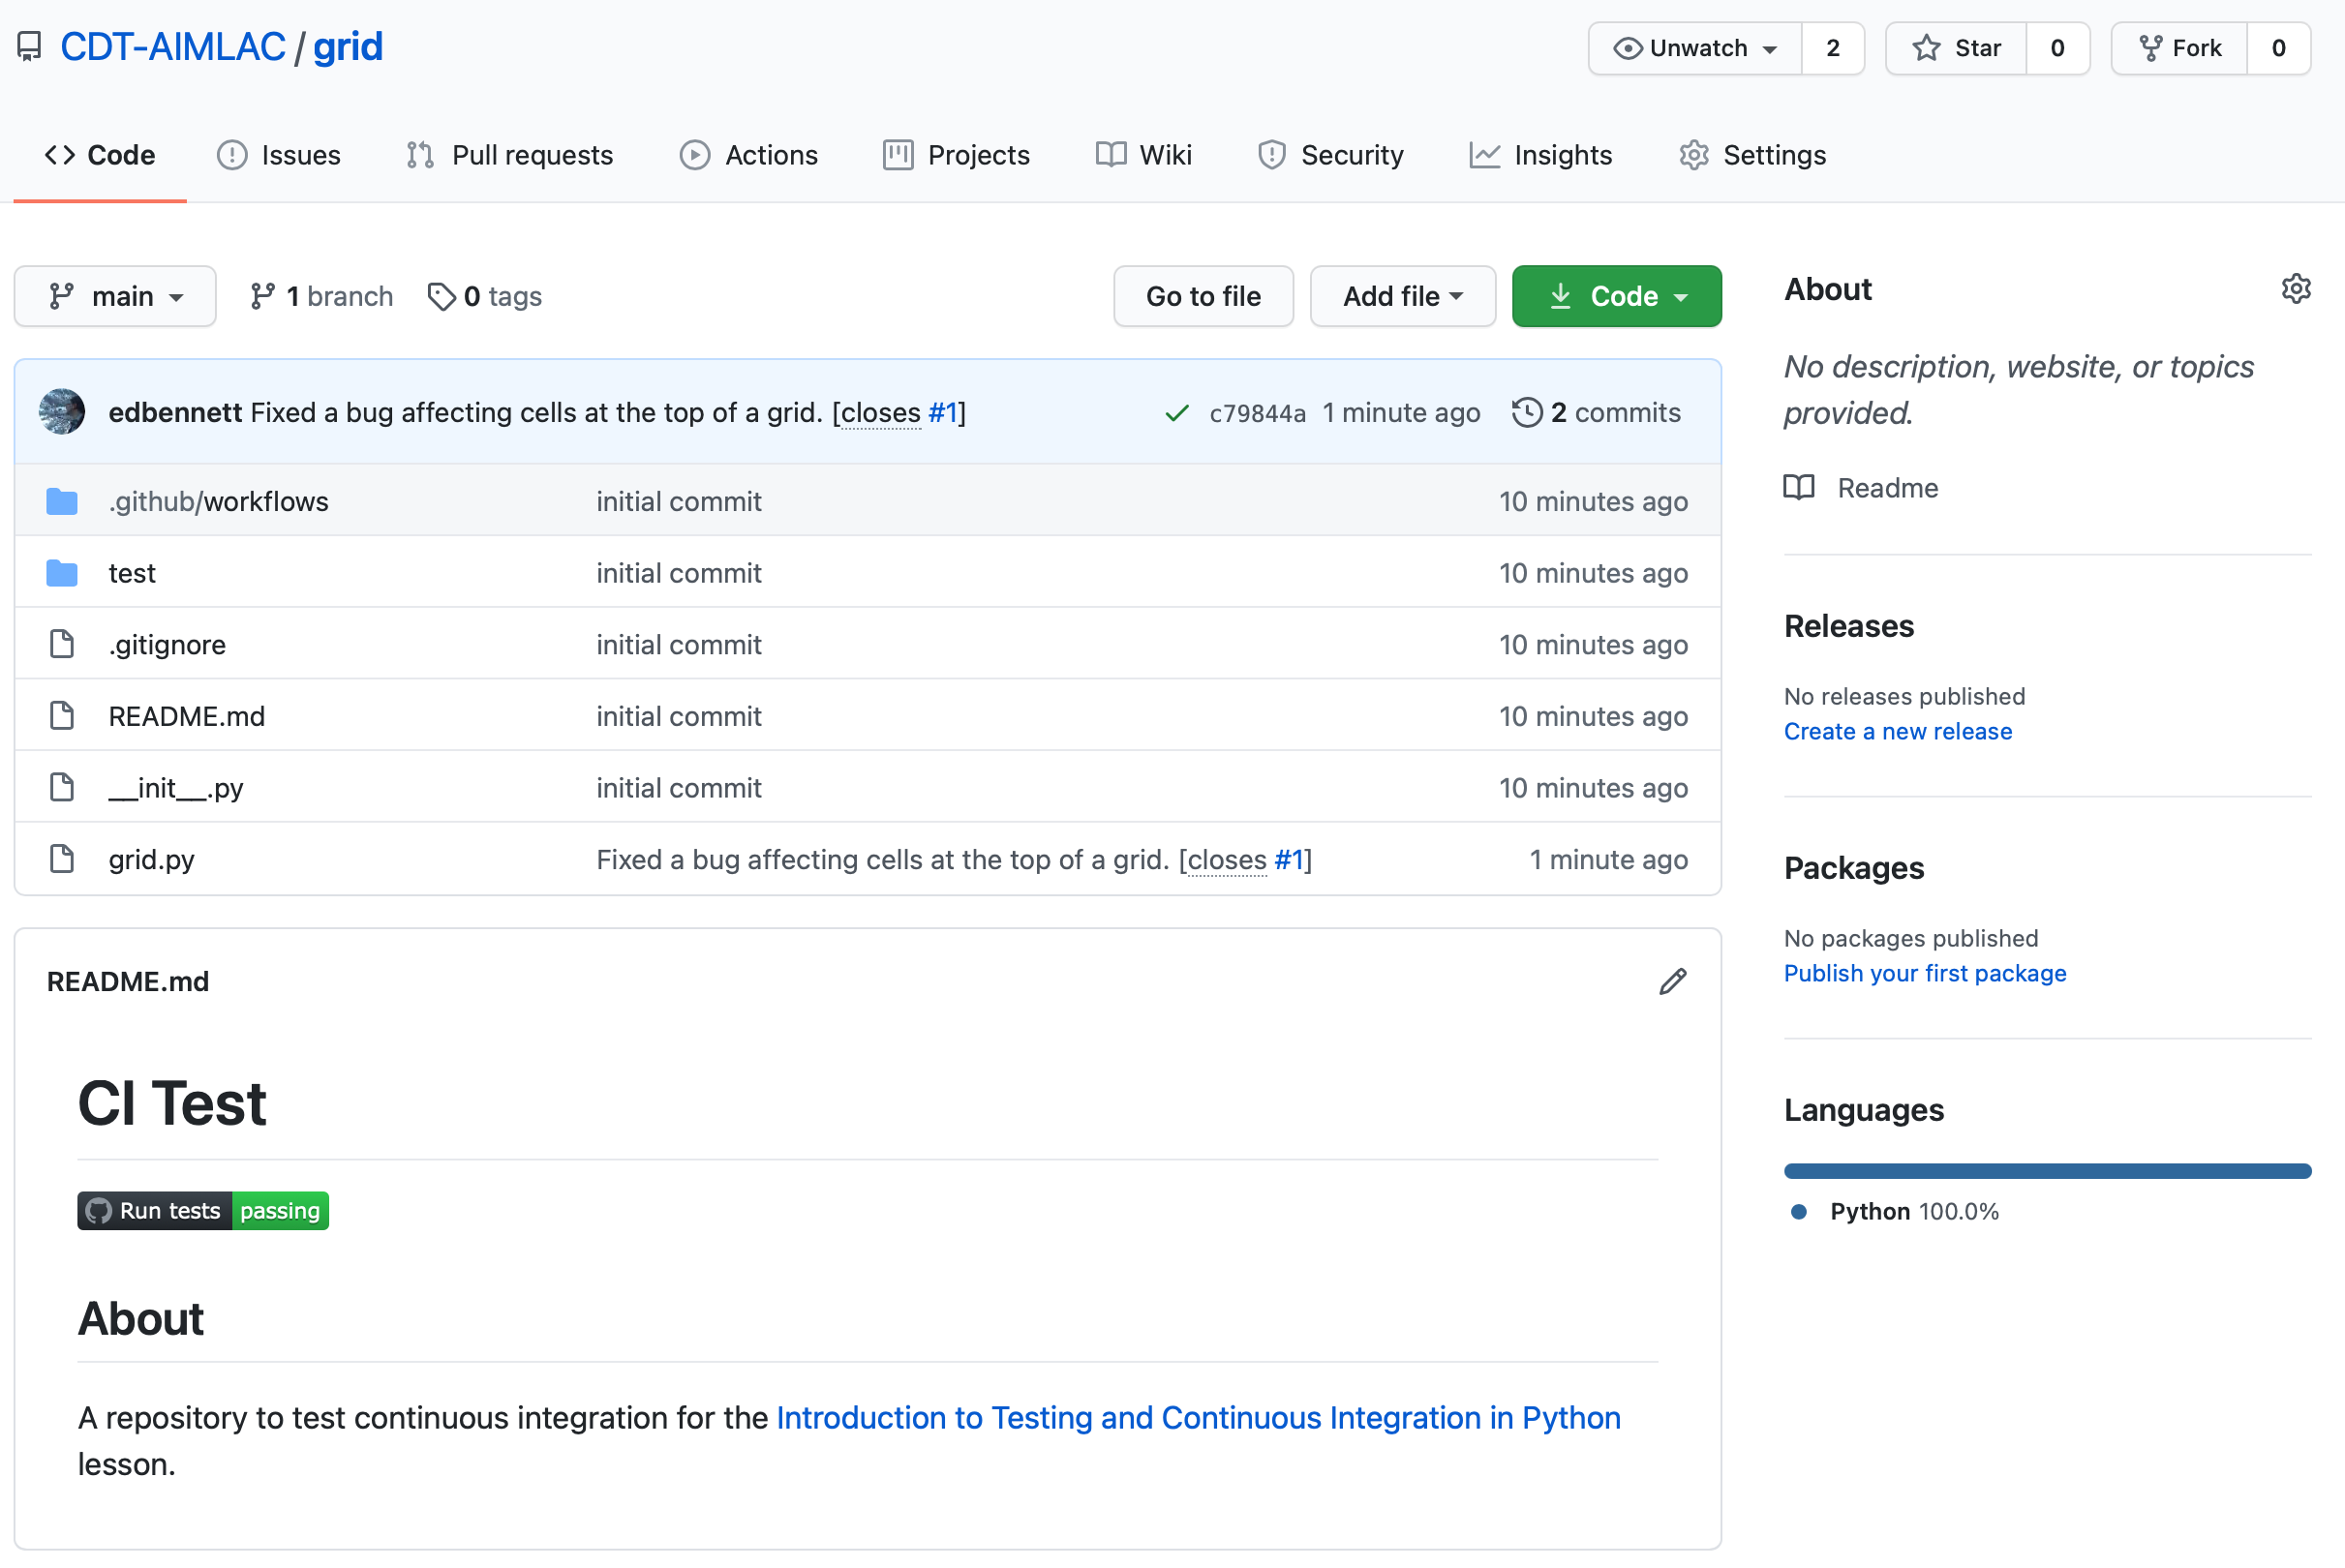
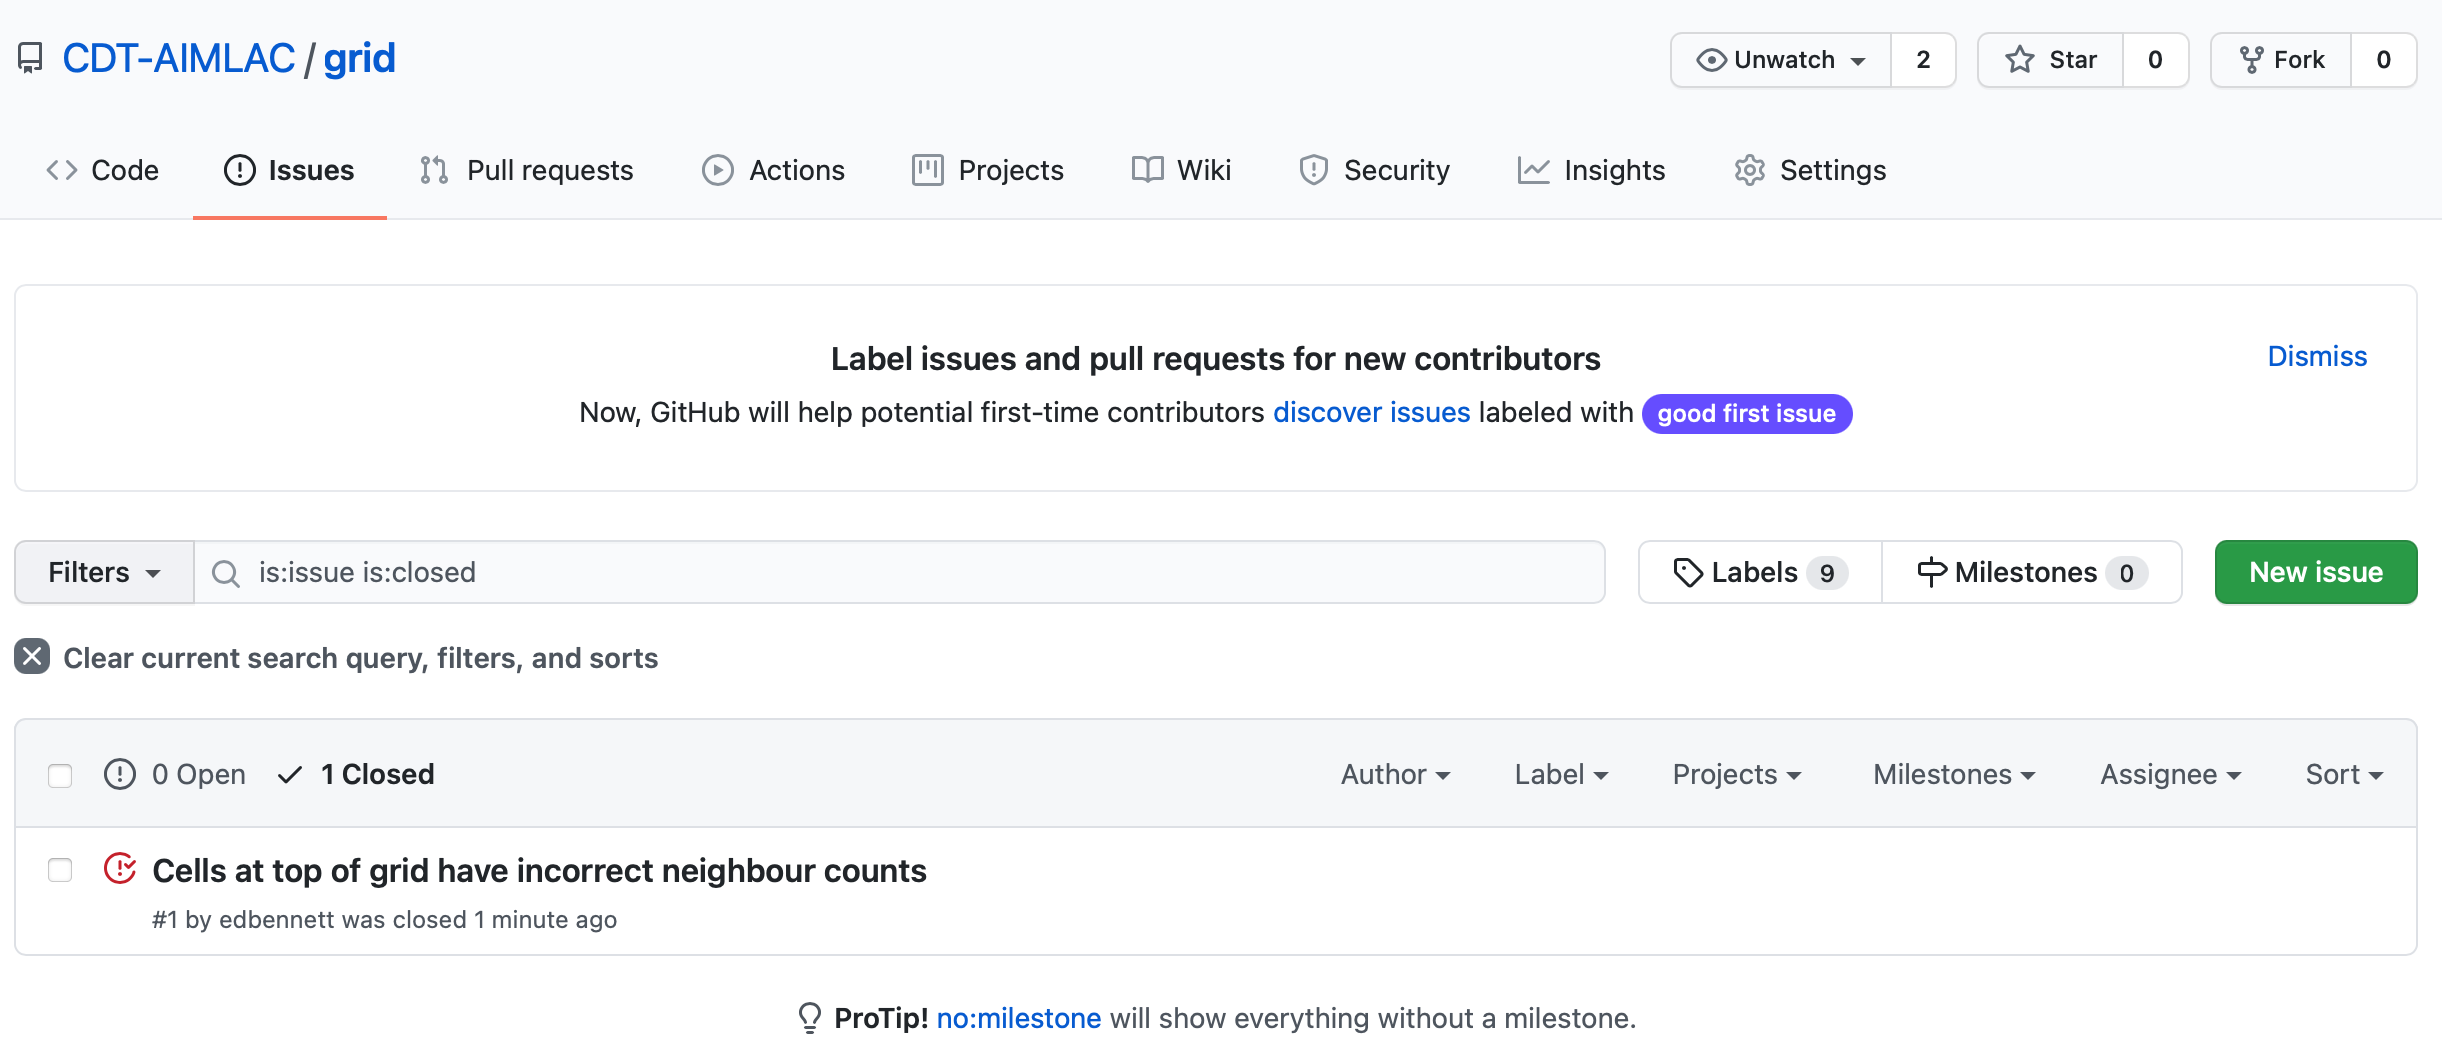
Take another look at the Issues tab. You should see that the issue that you
opened is now closed. This happened automatically because we included the
phrase “closes #1” somewhere in our commit message. Here #1 is the issue
number—in this case, indicating that it is the first issue that was
opened.
Skipping a CI build
Sometimes you might commit changes that don’t affect the functionality of the
code, e.g. comments, or changes to the README.md file. In this case there is
no need to run another CI build since none of the changes will affect the result
of the tests. Since a build can be a time consuming process, and GitHub only
gives us a certain number of free minutes of actions per month, it would be
wasteful to run one if wasn’t absolutely necessary.
Thankfully there is a flag that can be added to commit messages in order to
indicate that a CI build should be skipped, [ci skip].
Edit the README.md file to include a new line saying “Testing is great!” (or whatever you prefer). Now commit your changes.
$ git commit README.md -m "Updated the README. [ci skip]"
Finally push the changes to GitHub.
$ git push
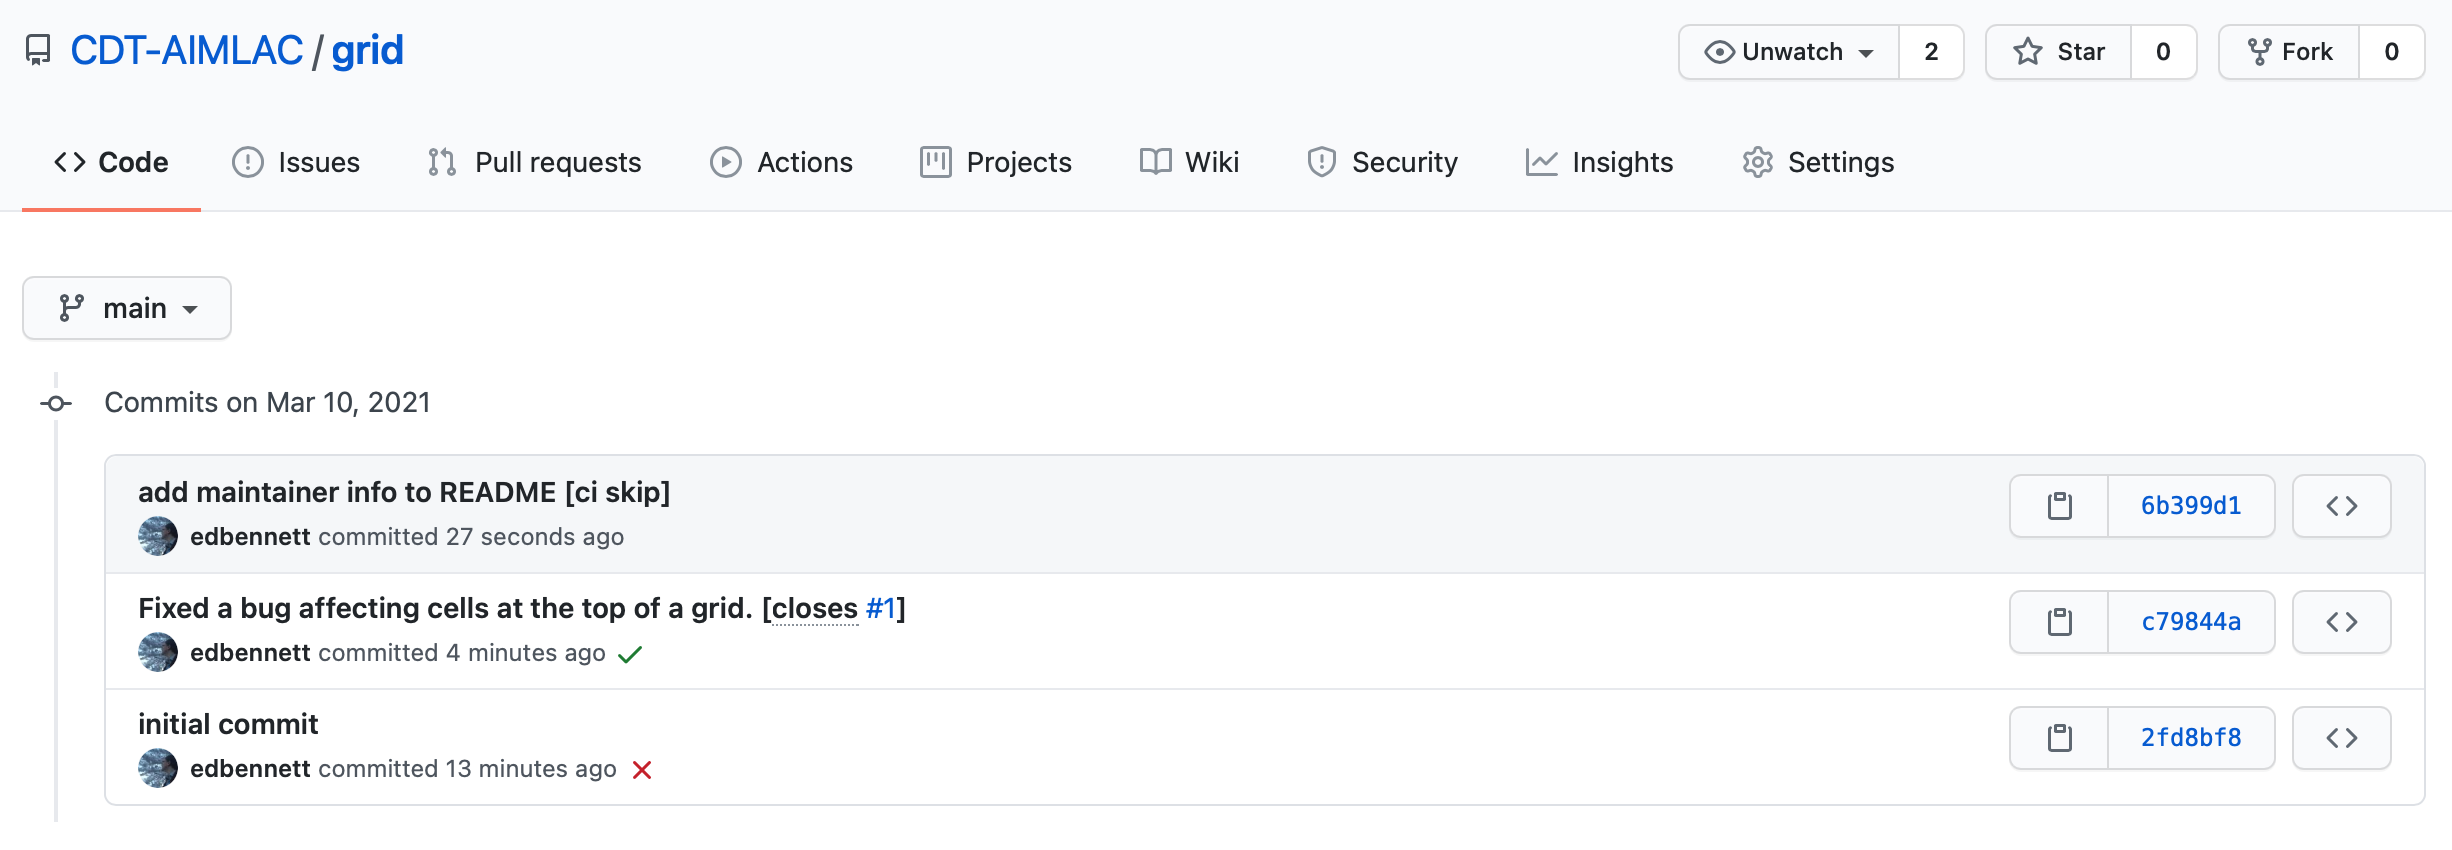
If you go to the GitHub page for your grid repository you should find that
there wasn’t a third CI build. On the GitHub page you can click on where it says
“3 commits” to show the commit history. There should be a red cross (failed)
next to the first commit, a green tick (passed) next to the second, and nothing
(skipped) next to the third.
Other GitHub actions
GitHub has a whole catalogue of example workflows available that can do a wide variety of things. A few are suggested when you click the New Workflow button in the Actions tab, and more can be found at the
starter-workflowsrepository. Some possibilities are to automatically push new releases to PyPI, and to automatically style check all code against a defined house style (for example, PEP 8).
Try it yourself
Switch now to the
dicedirectory. Set up this directory to be a git repository, hosted on GitHub, and using GitHub actions for CI.To do this:
- Create a new
.github/workflows/directory.- Create a
pytest.yamlfile inside this directory. You can use the example shown above as the basis for it.- Use
git init,git add, andgit committo commit the relevant files to the repository.- Create a new repository on GitHub. Use
git remote addto connect your local repository to the one you’ve just made.- Use
git pushto push your local repository up to GitHub.- Check that the tests ran, and passed.
If you have time, try also adding the badge to your
README.mdthat indicates whether the most recent CI build succeeded or not.
Key Points
Create a metadata file specifying how to run your tests, and push your repository to a hosting service connected with a Continuous Integration provider such as GitHub Actions.